




Let’s get real for a minute. You’ve been there. You create what you believe is an engaging video for your brand’s Instagram Reels or TikTok. The light seemed appropriate. That little phone screen looked great with the product! Then you upload it. And it looks terrible! Grainy. Blurry. As if shot with a potato.
It’s frustrating, right? You know that video is the secret sauce to being noticed. You’ve heard the numbers: people love watching videos and they are way more likely to buy something after seeing one. However, who can afford to hire a professional crew and a fancy equipment for the video? You are a small business person, not a Hollywood producer. There are already a million things you have to do.
The good news?
To create videos that pop, you do not need a huge budget. All you need is the proper tools. In this article, it’s all about how to transform those lackluster phone clips into clear, engaging, and even sellable social video.
The Common Problem: Great Products, Blurry Videos
Here’s a scenario. You have a great product. Stylish water bottle, for example. It’s something you want to post on social media. You stand it up, adjust the light to a reasonable level and press record on your phone.
When viewing the clip back, though, the details are not that clear. Colours are dull. There’s even a random watermark from the app used to make a quick caption. Then you say to yourself, “There’s no way I can post this”. You’re not alone. This happens to almost every small business starting out with video.
Why Your Phone Footage Falls Short
Light: Number one killer of good video. Even if your room is a bit dark, your footage could look grainy and noisy.
Shaky Hands: Your video might look like you’re shooting it in an earthquake if you don’t have a tripod or a gimbal. This is definitely an issue for product-oriented customers.
Compression: Video files get compressed on social media platforms and even on your phone to save space. This can remove a great deal of the quality and sharpness.
Watermarks: Consider adding a fun transition or text using a free editing software. However, these applications tend to stick a large watermark on your completed clip. This will give your brand an unprofessional appearance.
Good news?
Instead of re-shooting it, one can use a tool such as the video watermark remover by Zawa to remove a logo, subtitles, a text overlay, or even individuals and background objects.
Turn “Just Okay” Clips Into Clear Videos
Making a weak clip better doesn’t require a video expert. Making the image sharper, eliminating visual noise, and making the product more visible are quite easy things that can be performed using simple tools.
An AI video enhancer can be used to improve older or low-resolution videos. It may be used to sharpen blurred edges, increase contrast, and reduce much of the graininess that may happen with less than optimum light conditions.
This can assist if you have video of an earlier campaign. You may have recorded a product months ago, but the original video is not quite good enough for a new post. Instead of filming everything again, you can first try improving the existing clip.
The secret is how to use these tools properly. Over-sharpening can give “false” appearance to the product. Make a small change, and then see how it changed. The final video should be clear rather than over-edited.
How to Turn Blurry Phone Product Clips Into Clear Social Videos
A watermark, logo, subtitle, or random text can pull attention away from your product. It may also cover the exact detail that customers want to see.
Here is a simple way to clean up the clip.
Step 1: Open Zawa
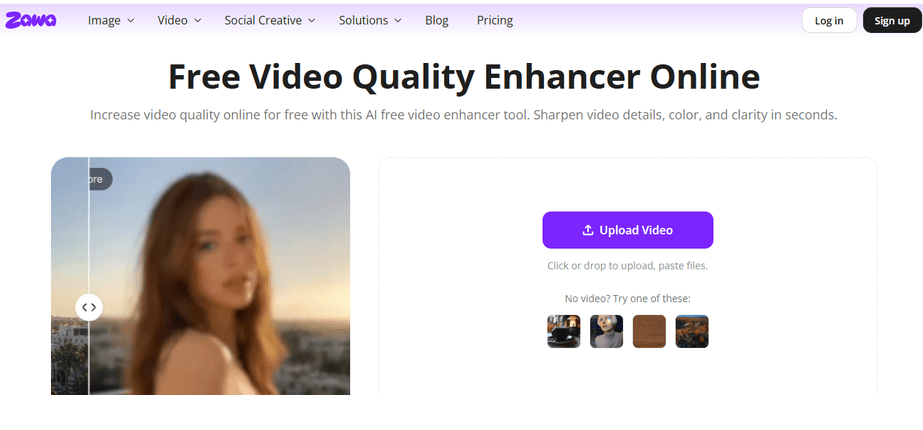
Start by opening Zawa. The tool can be used directly in your browser with no need to install complicated editing software.
If your product video turns out to be blurry, grainy, dull or slightly pixelated, then this is the right place to start.
Step 2: Upload your product video
Click the upload button and select the video from your phone, tablet or computer. Always try to use the original file if possible. Give it a command of what you want to zawa do. For example, enhance the image.
Don’t upload a video that has already been sent via a messaging app or downloaded from a social platform. Those versions might already be compressed, and therefore the end result might not be as clear.
For the best results, choose a clip where:
- The product is visible.
- The main subject is not covered by another object.
- The video is not extremely dark.
- The camera movement is limited.
- The original file is still available.
Step 3: Let Zawa process the clip
After you upload the video, you use Zawa tool to enhance the quality, which begins improving the footage. The tool can work on areas such as sharpness, brightness, contrast, color, and overall video clarity.
There’s no need to play with many complicated settings. That makes it ideal for small business owners who would like a more attractive product video and don’t want to invest the time to learn professional video editing software.
Please note that while AI can enhance what is visible in the clip, if the clip is extremely blurry, the AI may not be able to restore all the information that was lost. If the video is a little soft, it can be made clearer. If the footage is totally “out of focus,” it may have to be reshot.
Step 4: Remove unwanted watermarks or text
If your original clip includes an editing-app logo, old caption, watermark, or stamp, open Zawa’s video watermark remover.
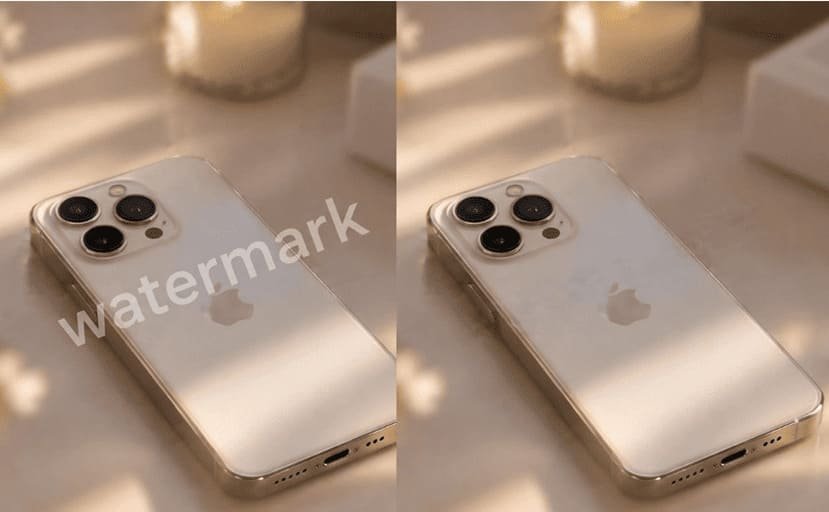
Upload the video and identify the unwanted mark. Depending on the tool interface, you may be able to select the area that needs to be removed. Zawa’s watermark and logo removal tools are designed to process unwanted logos, text, and graphics automatically.
Step 5: Add your brand details
Now add the final elements for your social post. You can add in your logo, product name, website, price, or short call to action.
Try to avoid putting text at the top and bottom of a vertical video. Social media buttons and captions may cover those areas.
Wrapping Up: Why Zawa Makes Sense for Busy Brand Owners
As a small brand, your most precious asset is time. You don’t want to manually remove a watermark frame by frame for an hour. The goal of Zawa is to be a “tool that just works”. It is web-based, so you can use it on any device without the heavy software.
It is also designed to be easy. The free plan is ideal for users with occasional video-editing needs, as Zawa offers all the necessary tools. This allows you to experiment with your own footage and get a feel for the outcome before going all-in. That’s the sort of functional information that is helpful to a small company without a professional’s budget.